First Drone Flight Step-By-Step Guide
You’re registered, you’ve passed TRUST, and you understand airspace. Now it’s time to fly and plan your first drone flight. Here’s how to plan a safe, legal first flight from start to takeoff — in about five minutes.
Quick answer
To plan a legal first flight: (1) open AutoPylot and check the airspace at your launch spot, (2)review the weather and wind, (3) run a pre-flight checklist, (4) request LAANC if you’re in controlled airspace, and (5) fly within line of sight, below 400 ft. The whole plan takes about five minutes.
Before you head out
Planning your first drone flight at home — before you’ve driven anywhere — saves you the frustration of arriving at a spot only to discover it’s a no-fly zone. Make sure you’ve completed the basics first:
- ✅ Registered your drone with the FAA (if over 250g). See the guide →
- ✅ Passed the TRUST test and saved your certificate. See the guide →
- ✅ Understand airspace basics — controlled vs. uncontrolled. See the guide →
- ✅ Installed AutoPylot on your phone or opened the web app.
One app, the whole plan
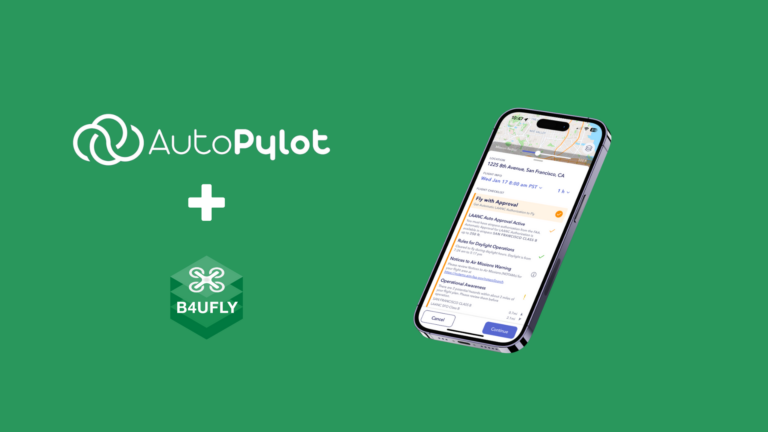
AutoPylot brings airspace, weather, checklists, and LAANC into a single flow — so you don’t have to bounce between B4UFLY, a weather app, and a separate authorization tool.
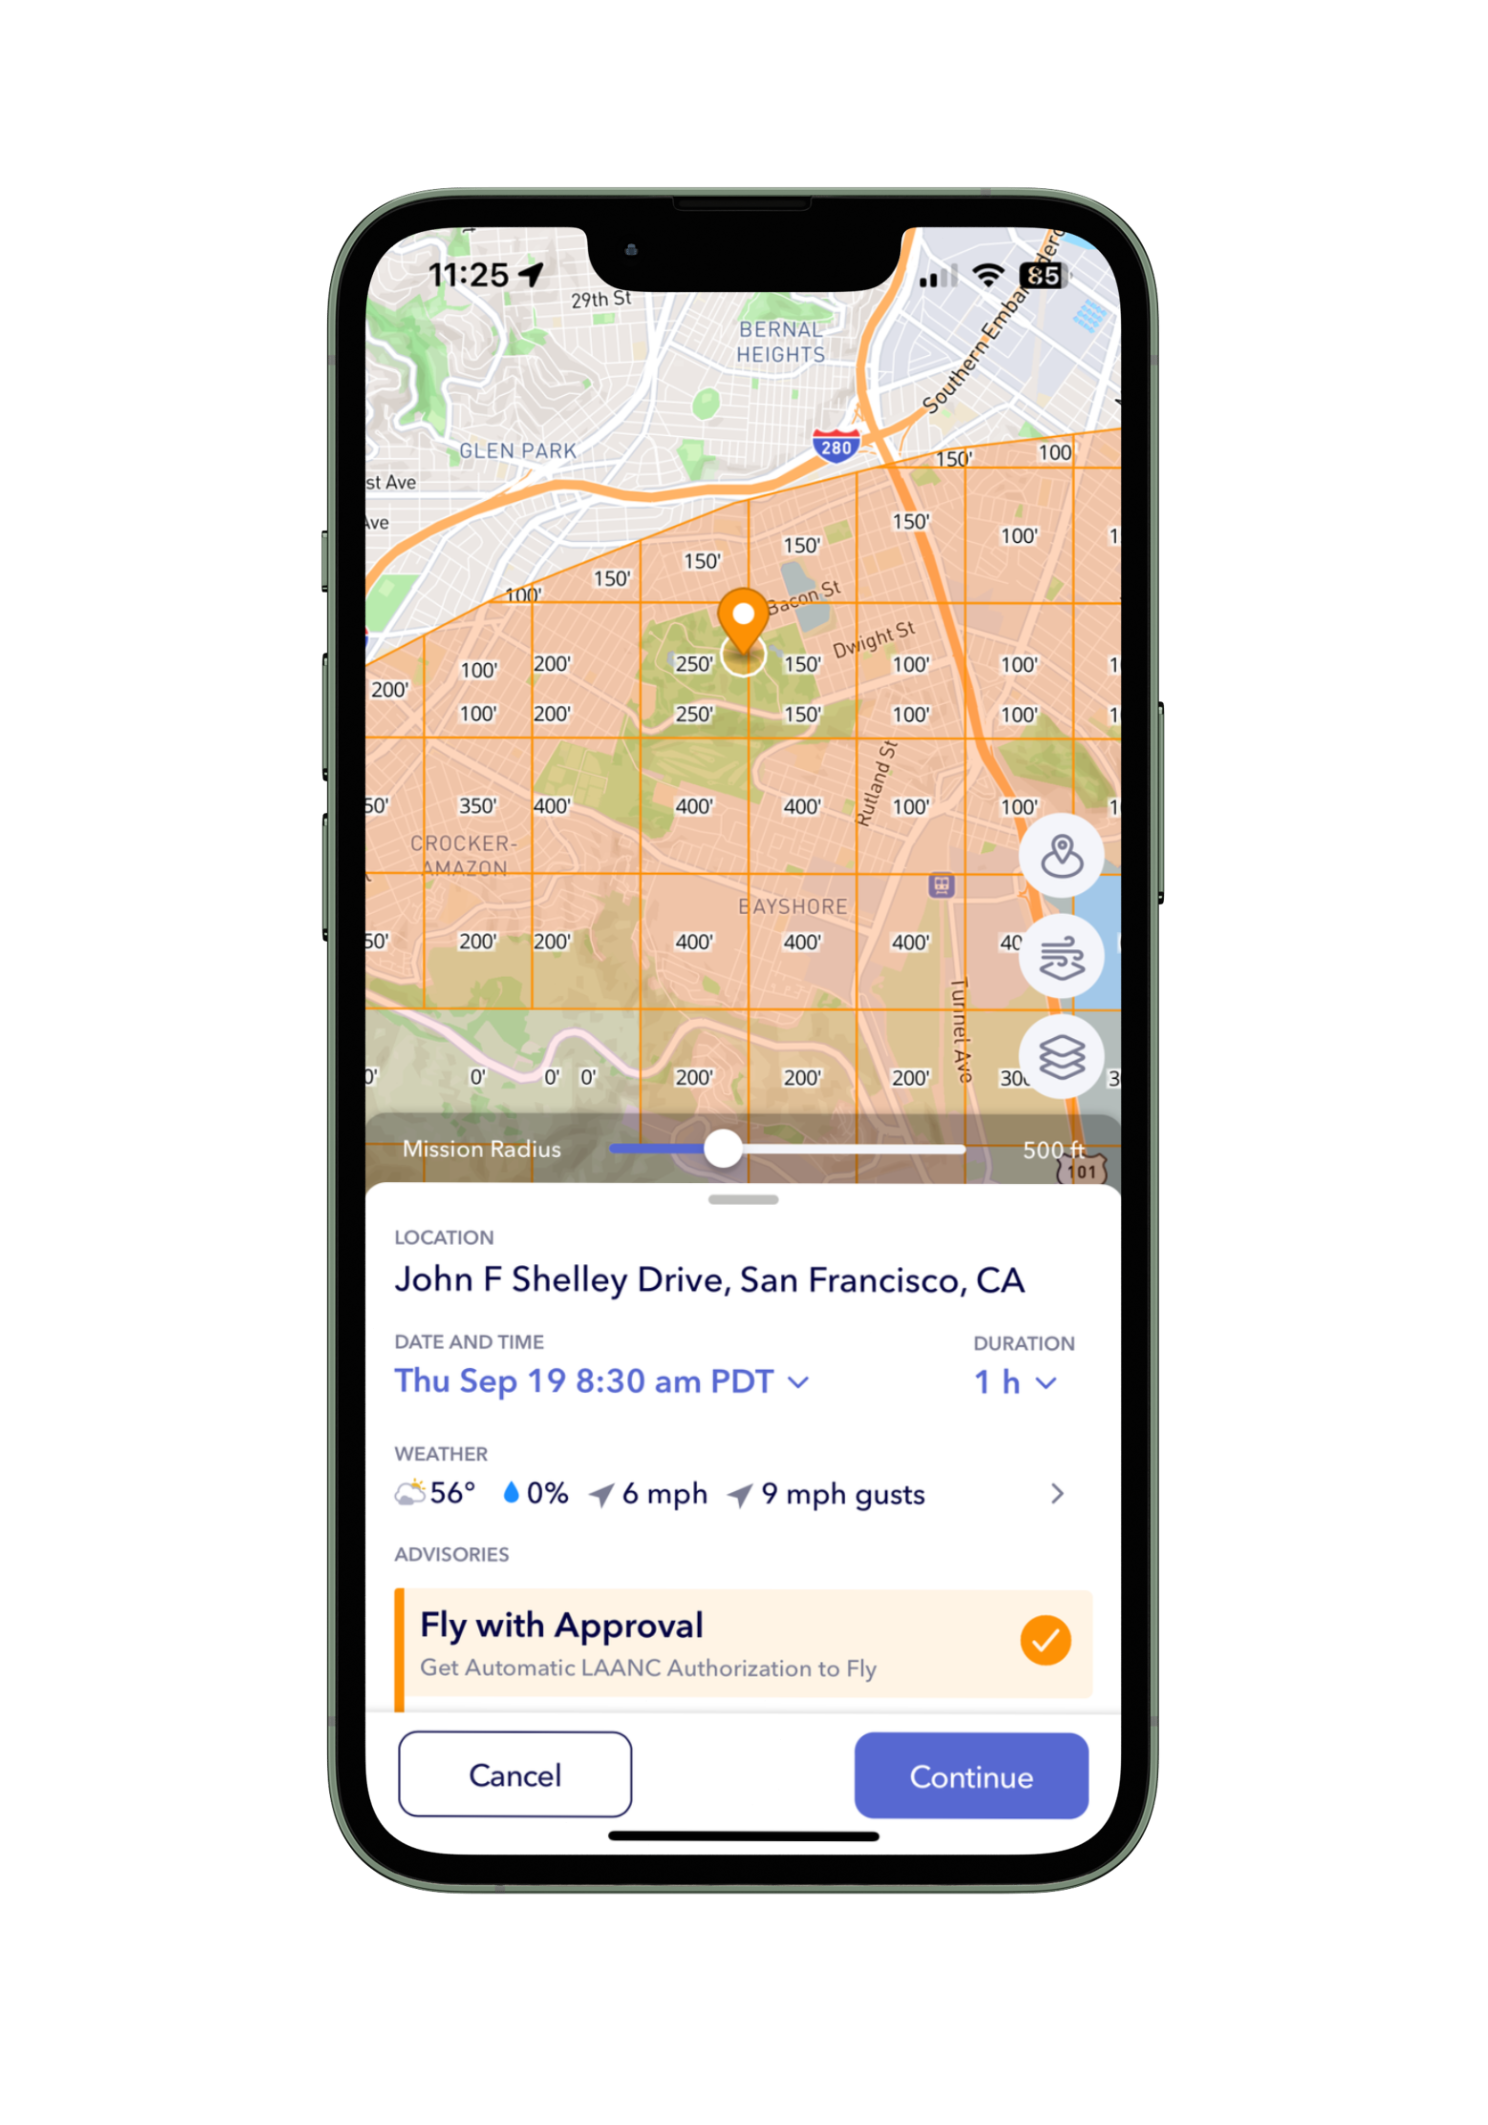
Step 1 — Check your airspace
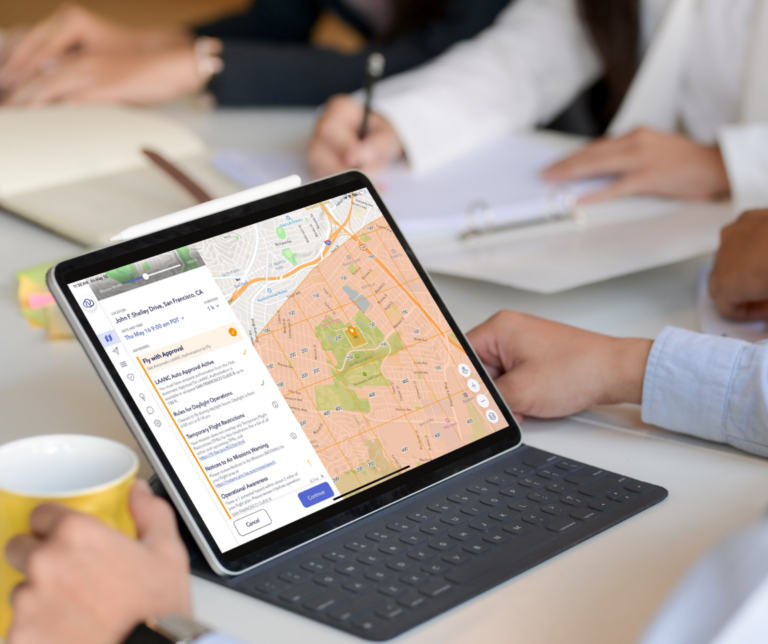
Open AutoPylot and search for — or drop a pin on — where you want to fly your first drone flight. The map instantly shows your airspace status using the familiar traffic-light colors:
- Red — restricted, prohibited, or an active TFR. Do not fly.
- Green — uncontrolled (Class G). Generally clear to fly.
- Amber — controlled airspace. You’ll need LAANC, usually granted instantly.
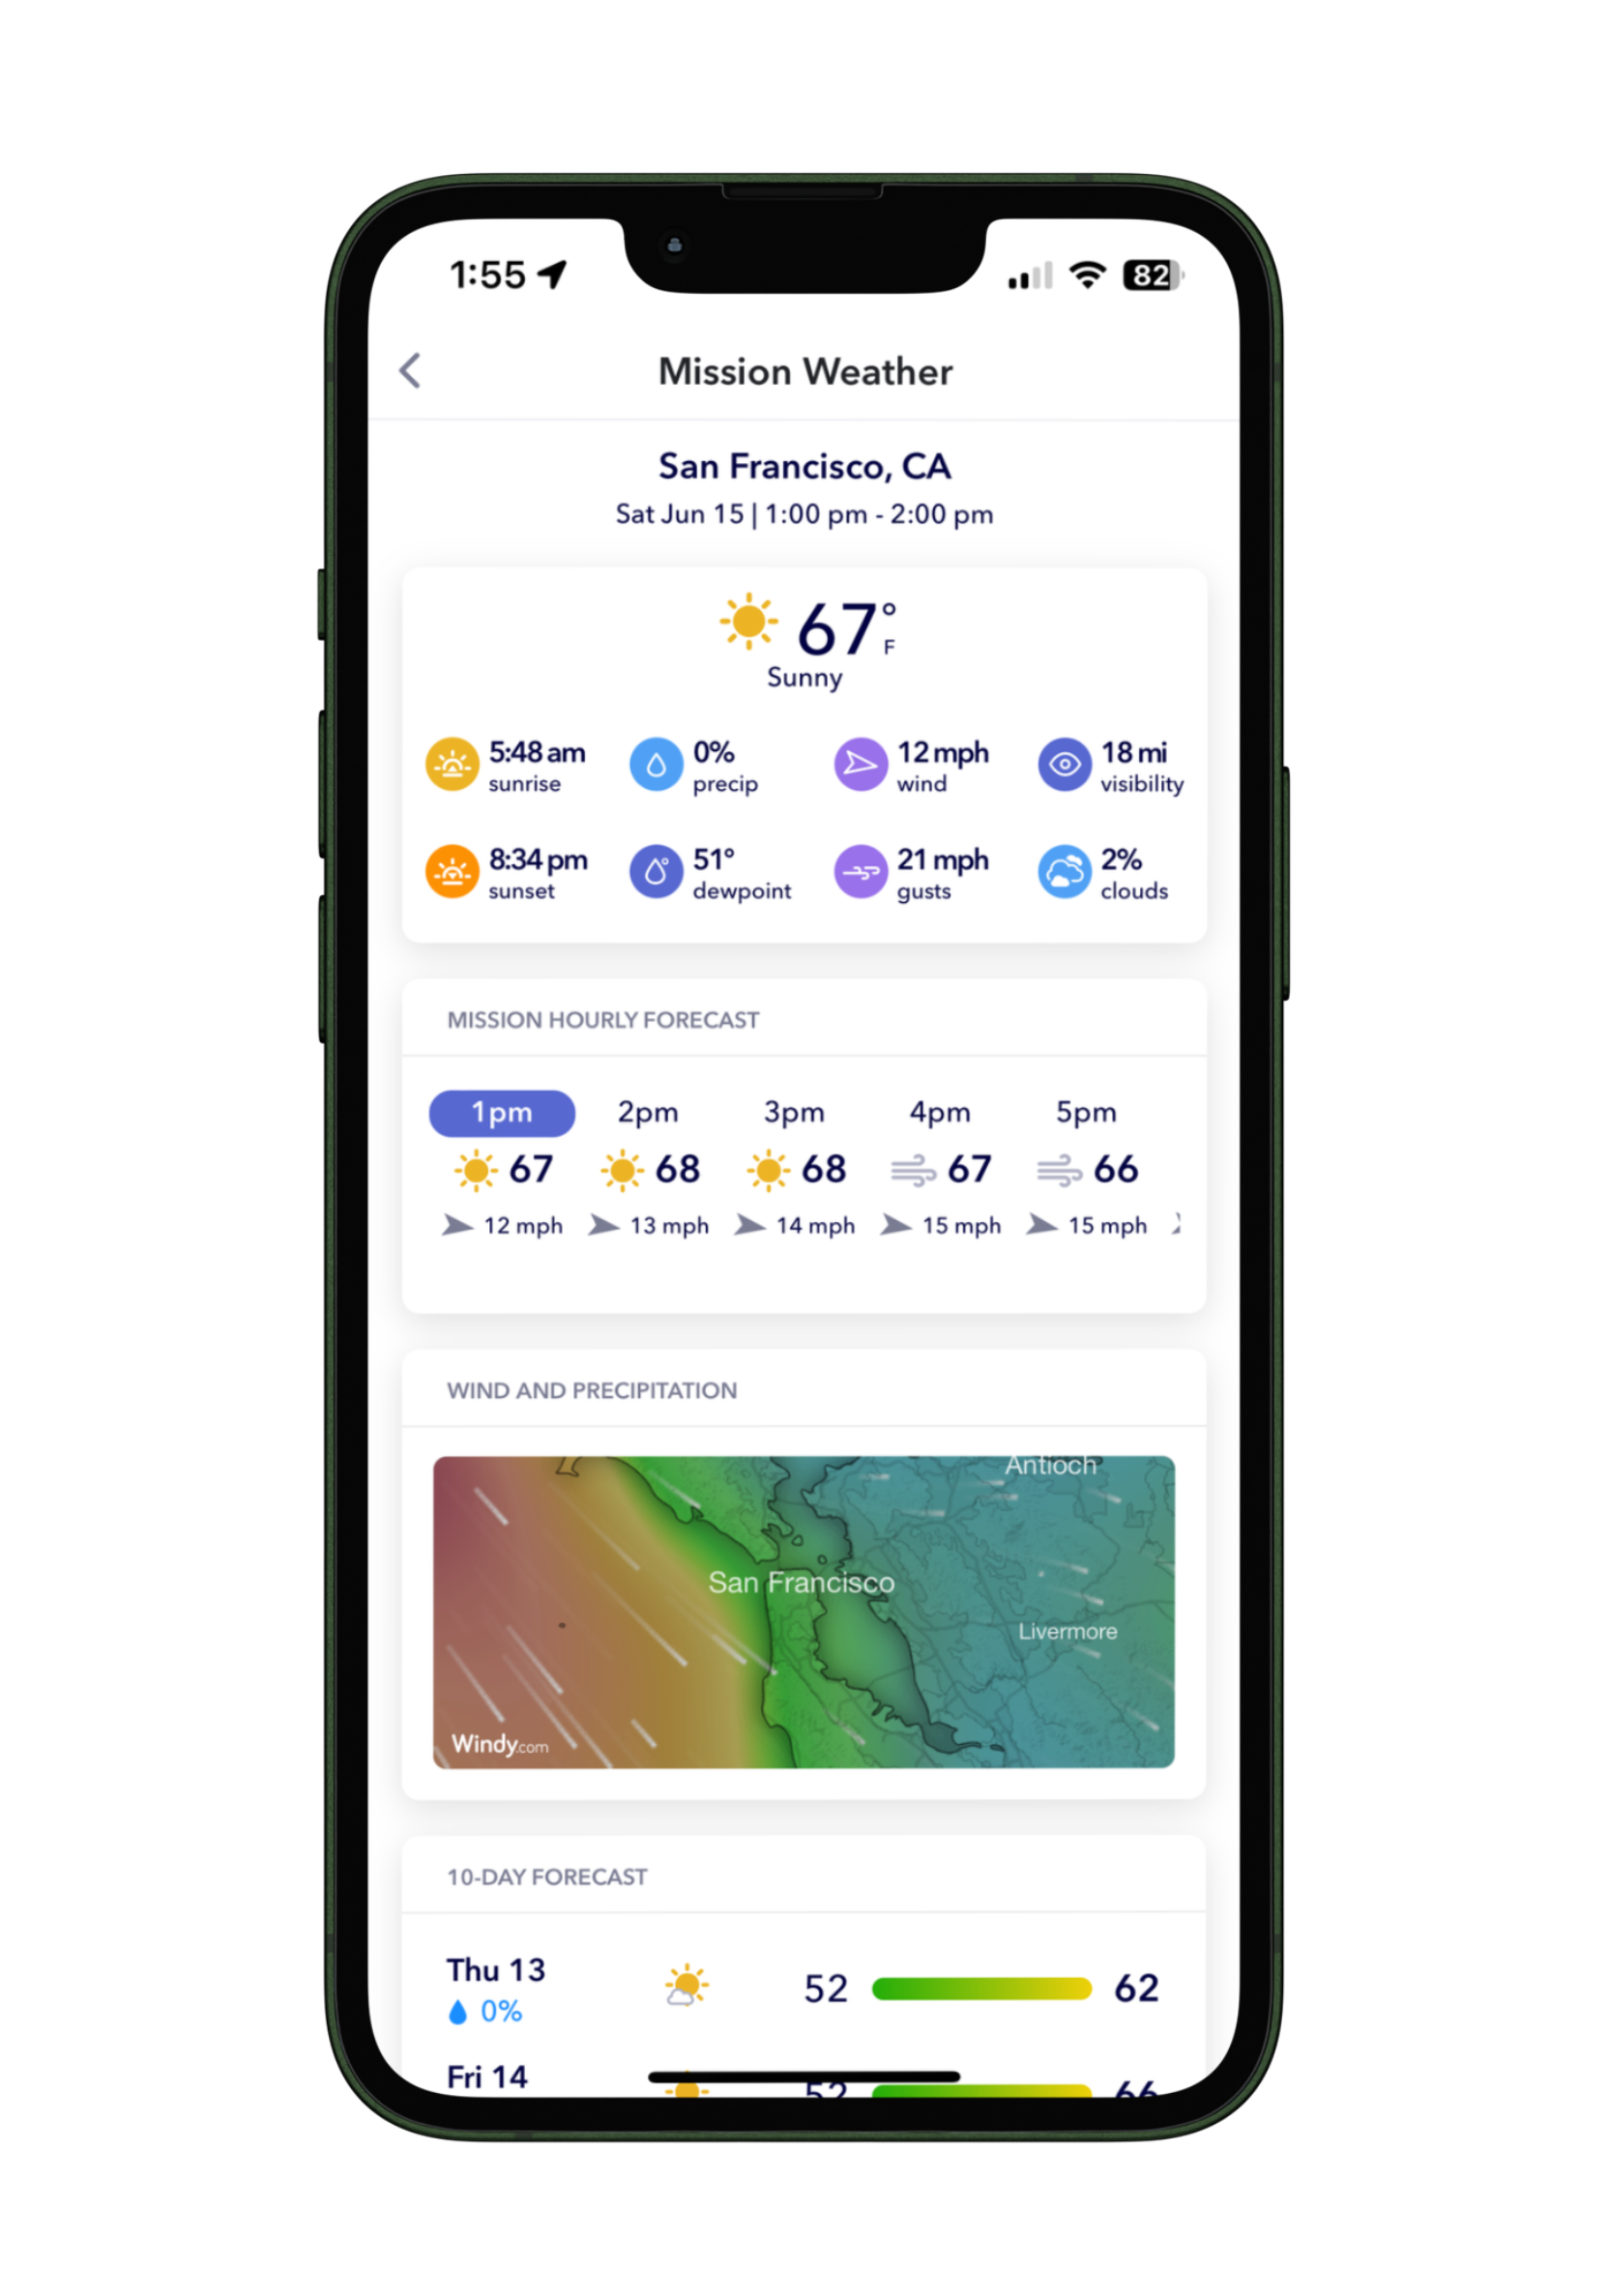
Step 2 — Check the weather
Drones are sensitive to wind, rain, and low visibility. AutoPylot pulls aviation-grade weather for your exact location so you can decide whether conditions are safe:
- Cloud ceiling — keep well below the clouds
- Wind speed & gusts — stay within your drone’s rated wind resistance
- Visibility — you must keep visual line of sight at all times
- Precipitation — most consumer drones aren’t waterproof
Rule of thumb
If sustained winds exceed about two-thirds of your drone’s top speed, sit it out. Gusts can quickly overpower a small drone — especially near buildings and tree lines.
Step 3 — Request LAANC (if needed)
If Step 1 showed amber (controlled airspace), you’ll request a LAANC authorization. AutoPylot is an FAA-approved provider, so you can do this right from the app — no phone calls, no paperwork:
Above the grid max?
If you need to fly higher than the grid allows, you’ll need to request further coordination—a manual FAA authorization that is required to fly above the grid ceiling or in a “0 ft” grid. It’s only available to Part 107 operators and must be filed at least 72 hours ahead. AutoPylot doesn’t support it yet; you’d use one of the FAA’s approved FC providers.
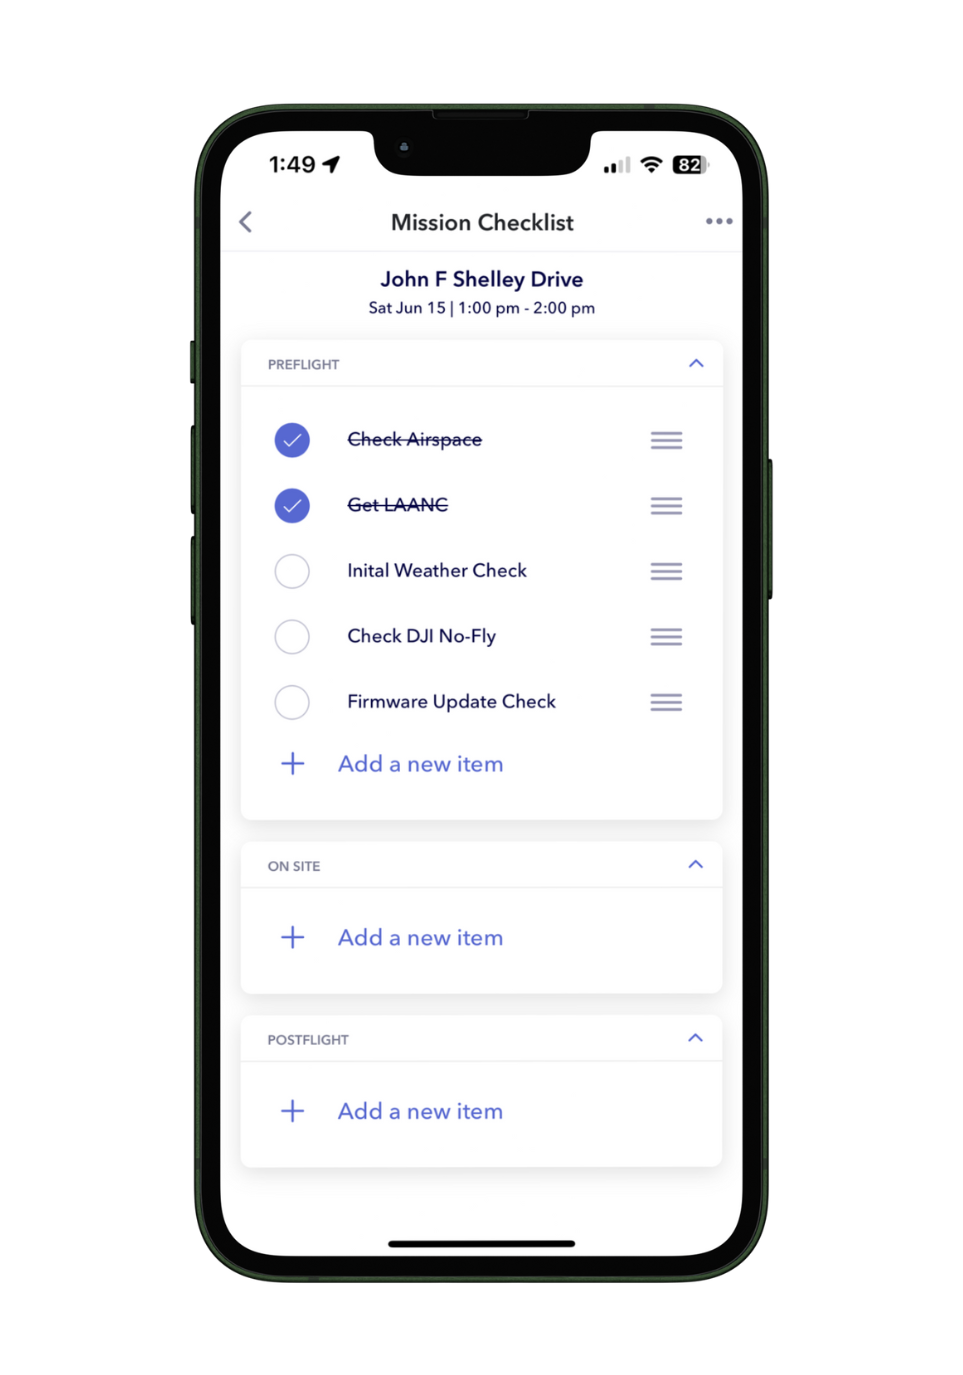
Step 4 — Run a pre-flight checklist
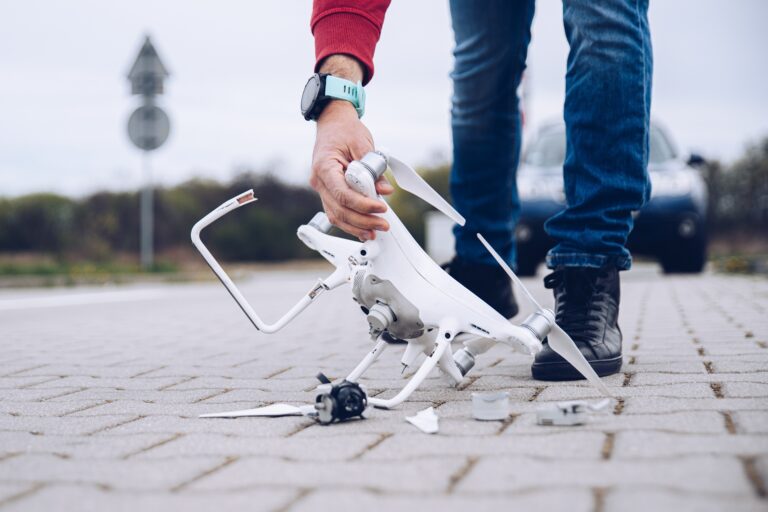
A quick checklist catches the small things that ruin a flight — a half-charged battery, a dirty lens, a loose propeller. AutoPylot includes a built-in checklist you can run in under a minute:
Step 5 — Fly safely
You’re cleared. Keep these core rules in mind every time you’re in the air:
- Mind your battery. Land with margin to spare; don’t push to zero.
- Keep it in sight. Maintain a visual line of sight with the drone at all times.
- Stay below 400 ft AGL (or your LAANC-approved altitude).
- Yield to crewed aircraft — always give way to planes and helicopters.
- Don’t fly over people or moving vehicles who aren’t part of your operation.
Plan your first flight now
Airspace, weather, checklists, and LAANC — all in one app. Free for recreational pilots.
First-flight FAQ
For an uncontrolled (green) location, about a minute — just confirm the airspace and weather. If you need LAANC, add a few seconds for the request. Flights requiring further coordination may take longer to approve, so plan them in advance.
Yes. Even at a familiar spot, Temporary Flight Restrictions can be imposed with little notice for events, VIP movements, or emergencies. A 30-second check before each flight protects you from accidentally entering a no-fly zone.
A red status means the area is restricted, prohibited, or has an active TFR. Do not fly there. Pick a different location — AutoPylot can help you find a nearby spot that’s clear to fly.
Yes — core features like airspace checks, weather, checklists, and LAANC requests are free for recreational, commercial, and government pilots. Advanced planning and mission-management features are available on a subscription for pilots who need them.
Yes. AutoPylot works on the web as well as on mobile and tablet devices, iOS or Android, so you can plan at home on your computer and pull up the details on your phone in the field.